Skip to content


Repairing a hole in your roof is crucial to prevent further damage. Whether it’s a result of a storm or general wear and tear, even small holes can lead to bigger issues.
This guide will walk you through identifying the problem and fixing it, offering clear steps for DIYers or first-time homeowners to repair the hole safely and effectively.
How to repair a hole in the roof?
For a hole in your roof, first, clean the area. Use roofing cement or a patch, ensuring it’s securely sealed. It’s essential to address the issue promptly to prevent water damage and structural problems.
Key Takeaways
- A hole in your roof can lead to water damage, mould, and structural problems if not repaired quickly.
- Proper tools and materials are needed to repair, and in some cases, it’s safer to call a professional.
- Regular roof inspections can help prevent large holes from forming in the first place.
Identifying the Cause of the Hole
Before you start any roof repair, it’s essential to understand the cause of the hole.
Repairing a hole in your roof is a task that homeowners may face at some point, especially after a storm or prolonged exposure to the elements.
A hole, even if small, can lead to bigger problems if not addressed promptly.
We’ll walk you through the process of repairing a hole in your roof, from identifying the problem to completing the repair.
Whether you’re an experienced DIYer or a first-time homeowner, this guide will provide clear steps to fix the issue safely and effectively.
Roof holes can be caused by several factors, including weather conditions, age of the roof, or damage from debris. Here are some common causes:
1. Storm Damage
Heavy winds, hail, or flying debris can puncture your roof, leaving holes.
In some cases, the damage may be visible from the outside, but it’s important to check the attic or ceiling for water stains or insulation damage.
2. Wear and Tear
Over time, roofing materials naturally deteriorate. Shingles may curl, crack, or become brittle, especially if they’ve been exposed to direct sunlight or extreme temperatures for many years.
3. Animal Damage
Wildlife, such as squirrels or birds, can sometimes create holes in roofs, especially if the roof has existing gaps.
If you have any critters in your attic, they may have damaged your roof from the inside.
4. Improper Installation
If your roof was improperly installed, it may have areas where the materials have not bonded correctly, leading to gaps or holes.
Tools and Materials You’ll Need

Before starting the repair, gather the necessary tools and materials to ensure the job goes smoothly.
Here’s a list of items you may need:
- Ladder (for easy access to the roof)
- Safety harness and gear (for protection)
- Roofing material (shingles, roofing cement, or tarp)
- Roofing nails or screws
- Utility knife or scissors
- Caulk gun (for applying sealant)
- Roofing sealant or waterproof caulk
- Hammer
- Pry bar or crowbar (if necessary to remove damaged materials)
Having everything on hand will make the repair process more efficient.
Step 1: Safety First
Before starting the repair, take necessary precautions to ensure your safety.
Climbing onto a roof can be dangerous, so it’s crucial to use a sturdy ladder and, if necessary, a safety harness.
It’s also a good idea to have someone assist you, whether for holding the ladder or monitoring safety.
- Check the weather forecast to avoid repairing the roof in wet or windy conditions.
- Wear non-slip shoes to maintain a firm grip on the ladder.
- Ensure the ladder is on level ground and positioned securely.
Step 2: Inspect the Hole
Once safely on the roof, inspect the hole closely to determine the extent of the damage.
A small hole may only need patching, while a larger hole could require more extensive repair or the replacement of damaged shingles.
- Look for cracks in the surrounding shingles.
- Inspect the attic for any signs of water leakage or damage to the ceiling.
If the damage is extensive, you may need to replace several shingles or even part of the roof.
Step 3: Remove Damaged Materials
Before you can repair the hole, you must remove any damaged roofing materials around the hole. Use a pry bar or crowbar to lift and remove broken shingles, nails, and roofing nails.
- Remove any nails or debris in the area of the hole.
- Carefully remove the shingles, taking care not to damage any of the surrounding area.
- If the underlayment is damaged, you may need to replace it as well.
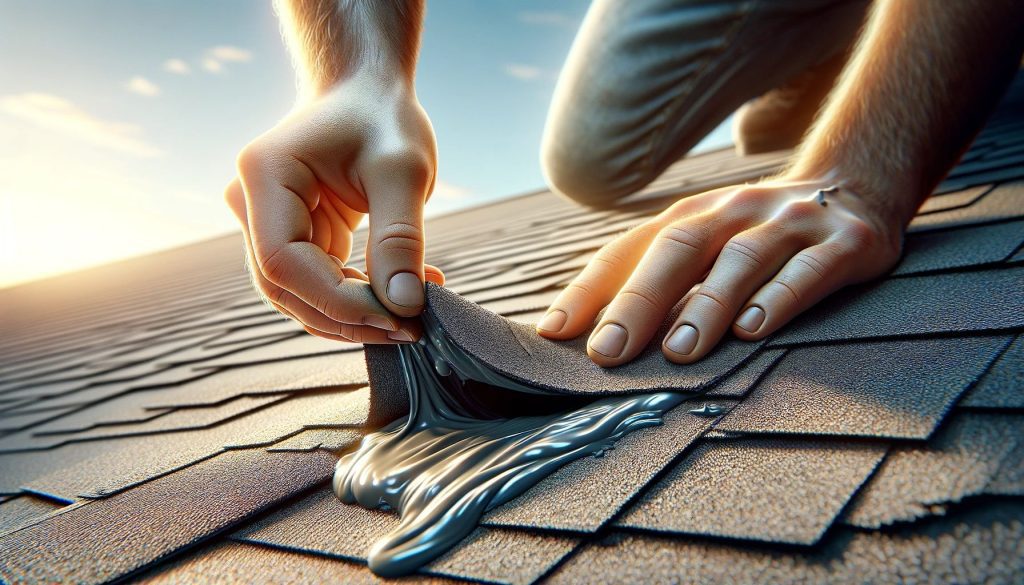
Step 4: Apply a Roof Patch (for Smaller Holes)
If the hole is small, you can patch it with roofing cement or a patching kit. Here’s how:
- Cut a piece of roofing material (shingle, metal, or patching membrane) to cover the hole.
- Apply roofing cement around the edges of the hole to create a strong seal.
- Position the patch over the hole and press down to ensure it sticks. Nail the patch in place with roofing nails.
- Apply more roofing cement around the edges of the patch to seal any gaps.
For larger holes, you may need to replace damaged shingles or roofing panels entirely.
Step 5: Replace Damaged Shingles or Roofing Panels
For larger holes, you’ll need to replace the damaged shingles or panels entirely. Here’s how to do this:
- Start by removing the old shingles or panels carefully with a pry bar.
- Lay the new shingles or roofing panel in place, ensuring they align with the surrounding shingles.
- Nail them down securely, ensuring they are well fastened to avoid wind damage.
If your roof uses asphalt shingles, ensure that the new shingles are the same type and size for proper alignment.
Step 6: Seal the Repair
Once the new shingles or patches are in place, apply roofing sealant around the edges of the repair.
This helps create a waterproof barrier that prevents water from entering and causing damage in the future.
- Use a caulk gun to apply the sealant evenly around the edges of the patch or new shingles.
- Smooth the sealant with a putty knife to ensure it covers the area fully.
Allow the sealant to dry thoroughly before exposing the roof to rain or moisture.
Step 7: Inspect Your Work
After completing the repair, give the area a final inspection. Make sure the new shingles are securely fastened, and there are no gaps around the edges.
If you applied roofing cement or sealant, ensure it has dried completely.
- Check from different angles to ensure no leaks are visible.
- Ensure the patch blends in with the rest of the roof for a seamless appearance.
Step 8: Monitor the Area
After repairing the hole, monitor the area for a few weeks to ensure the repair holds up. Check for any signs of water damage or leaking, especially during the next rainstorm.
When to Call a Professional

While repairing a roof is a DIY-friendly project for many homeowners, some situations may require professional help.
If the hole is too large, the roof has multiple damaged areas, or you’re unsure how to proceed, calling a roofing professional is a smart choice.
Roofing professionals can assess the damage and make the necessary repairs safely.
It’s better to invest in a professional repair than risk causing further damage by attempting a complex fix yourself.
Frequently Asked Questions
1. Can I repair a roof hole myself?
Yes, if the hole is small and you have the necessary tools, you can repair it yourself. For larger or more complicated repairs, it’s best to hire a professional.
2. How long will a roof patch last?
A properly installed roof patch can last several years, but it’s important to monitor it regularly and address any issues promptly.
3. How much does it cost to repair a hole in the roof?
The cost of repairing a hole in the roof depends on the size of the damage and the materials required. On average, repairs can range from $200 to $1,000 or more.
Conclusion
Repairing a hole in your roof is a crucial task that should be taken seriously to avoid further damage.
By following the steps outlined above, you can fix smaller holes yourself and prevent more significant problems down the road.
However, if the damage is extensive or you’re unsure about the repair process, it’s always wise to call in a professional.
Keep your roof well-maintained, and it will serve you for many years to come, protecting your home and your belongings.