Tar and gravel flat roofs are a popular choice for both commercial and residential buildings due to their durability.
However, over time, they can develop leaks and other issues. Repairing these roofs may seem challenging, but with the right approach, it’s achievable.
In this guide, we’ll walk you through the steps to repair a tar and gravel roof, helping you maintain its strength and extend its lifespan.
How to Repair a Tar and Gravel Flat Roof?
To repair a tar and gravel flat roof, first, clean the area, remove damaged tar, and reapply fresh tar. Add new gravel and ensure the sealant is completely dry before use.
Key Takeaways
- Regular maintenance is essential for preventing issues with tar and gravel roofs.
- Repairing a tar and gravel roof requires proper preparation, materials, and technique.
- Safety precautions must be followed, as roofing repairs can be dangerous without the right training and equipment.
Understanding Tar and Gravel Roofs
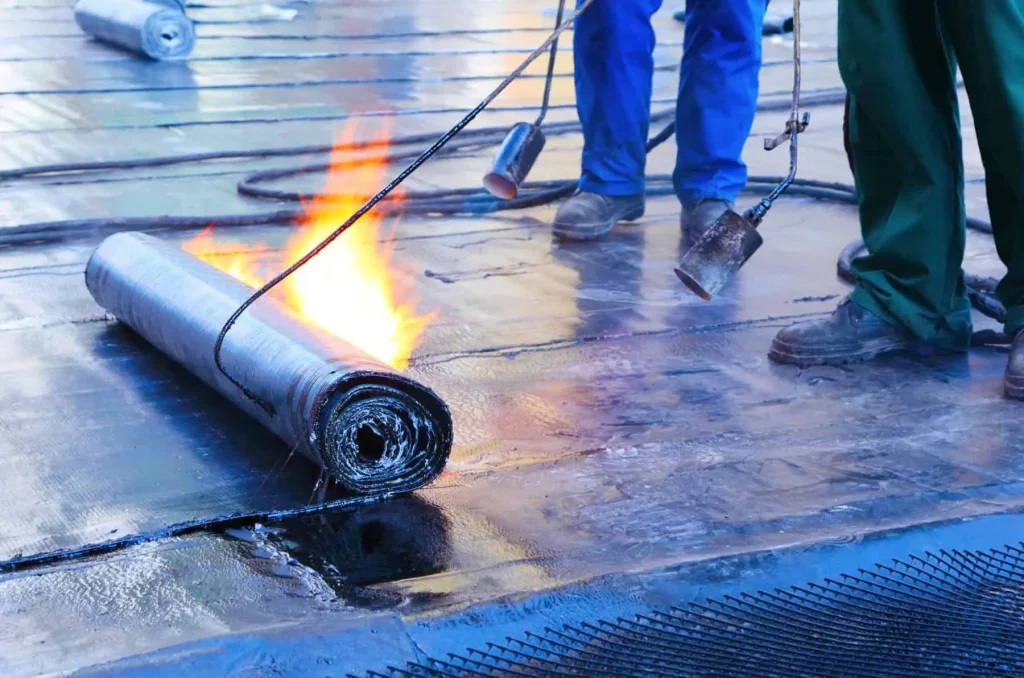
Before diving into the repair process, it’s important to understand what a tar and gravel roof is and how it works.
A tar and gravel roof consists of layers of bitumen, which is mixed with gravel or crushed stone to create a durable, weather-resistant surface.
This type of roof is commonly used on flat roofs, such as those found on warehouses, garages, or some apartment buildings.
The tar layer acts as a waterproof barrier, while the gravel helps to protect the tar from UV rays and physical damage.
However, over time, exposure to the elements can lead to damage, including cracks, punctures, or blistering in the tar. If left untreated, these issues can lead to leaks and further roof damage.
Assessing the Damage
The first step in repairing a tar and gravel roof is to assess the damage.
Depending on the extent of the damage, you may be able to fix small issues yourself, or you may need professional help for larger repairs. Here’s how to assess the situation:
Inspect for Leaks: Check the interior of your building for signs of water damage, such as water stains on the ceiling or walls.
If you notice any signs of a leak, it’s important to address the problem promptly.
Look for Cracks and Blisters: Walk across the roof and visually inspect it for any cracks, blisters, or punctures in the tar or gravel.
These are common signs of wear and should be repaired to prevent further damage.
Check the Gravel: Ensure that the gravel is evenly distributed across the surface of the roof.
If it has shifted or washed away in certain areas, it may leave the tar layer exposed and vulnerable to damage.
Once you have a clear understanding of the damage, you can begin the repair process.
Tools and Materials You Will Need
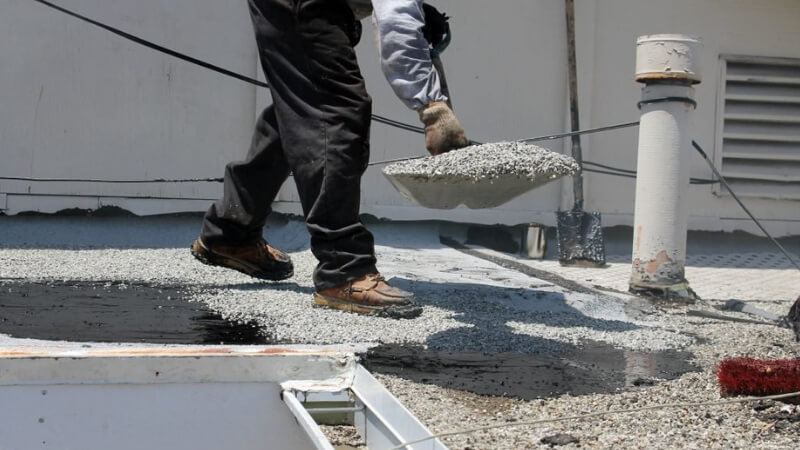

Before you start the repair, make sure you have all the necessary tools and materials. Here’s a list of what you’ll need:
- Roof cement or roofing tar
- Gravel or crushed stone
- Roofing adhesive
- Putty knife or trowel
- Roofing primer
- Paintbrush or roller (optional)
- Safety gear (ladder, gloves, safety goggles)
- Utility knife or roof scraper
- Tar or asphalt patch (for larger repairs)
Ensure that all materials are appropriate for use on a tar and gravel roof. It’s also a good idea to check the weather forecast, as you’ll want dry, calm conditions for the repair to be effective.
Steps to Repair a Tar and Gravel Flat Roof
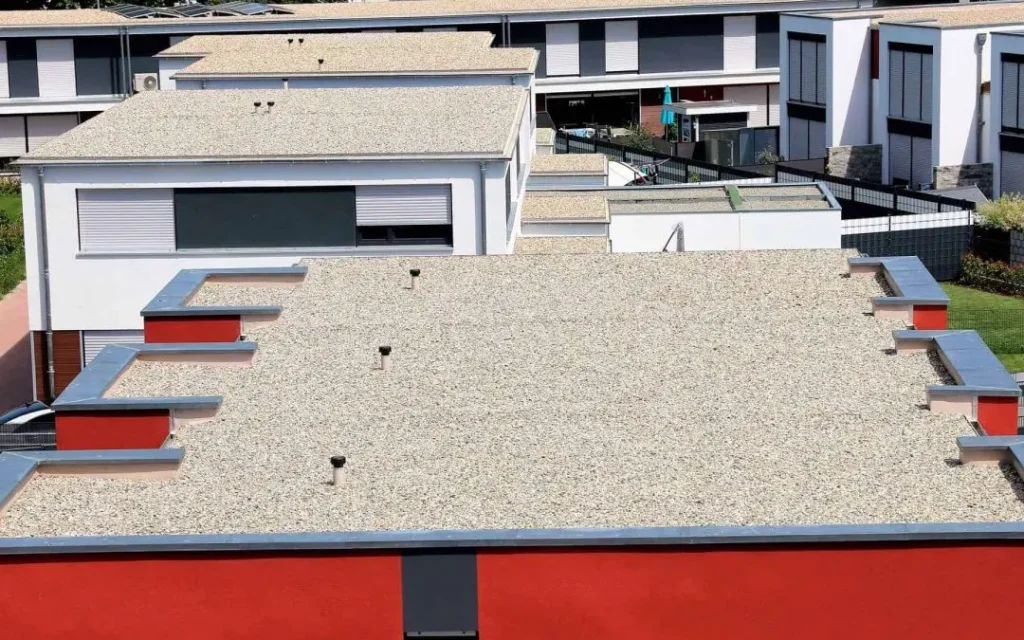

Step 1: Clear the Roof Surface
Before starting any repair, clear the roof of any debris, leaves, or dirt. This will ensure that you have a clean surface to work with and that the repair materials can bond properly with the roof.
You can use a broom, leaf blower, or a roof scraper to clean the surface.
Step 2: Apply Roofing Primer
Next, apply a coat of roofing primer to the damaged area. This will help the new layer of roofing materials to adhere properly.
Use a paintbrush or roller to apply the primer evenly to the affected area. This step is especially important when you paint a metal roof, as proper priming ensures better paint adhesion and long-lasting results. Let it dry completely before proceeding to the next step.
Step 3: Fill Cracks or Punctures
For smaller cracks, blisters, or punctures, use roofing tar or roof cement to fill the damaged areas.
Apply the roofing cement generously to the affected area using a putty knife or trowel, ensuring that the cracks or holes are completely covered.
Smooth out the cement to ensure an even surface.
Tip: For larger punctures, you may need to apply a patch of roofing material over the tar to reinforce the repair.
Cut the patch to fit the size of the damaged area and apply it with roofing cement.
Step 4: Replace Gravel
Once the roofing cement or tar has dried, it’s time to replace the gravel on the roof.
Apply a layer of fresh gravel or crushed stone over the repaired area to protect the tar from UV rays and physical damage.
Be sure to distribute the gravel evenly, ensuring that it covers the entire surface of the tar.
Step 5: Seal the Repair Area
After replacing the gravel, you can apply a final layer of roofing adhesive or tar to seal the edges of the repair.
This will help prevent any moisture from getting underneath the new gravel and causing future damage.
Use a brush or roller to apply the adhesive evenly, making sure that the edges are sealed properly.
Step 6: Inspect the Roof
Once the repair is complete, inspect the roof to ensure that everything is in place and secure.
Check for any loose gravel, exposed tar, or areas that may need additional attention. Make sure that all of the cracks and punctures have been adequately sealed.
When to Call a Professional
While many minor tar and gravel roof repairs can be handled by homeowners, some situations require professional help.
If the damage is extensive, such as large punctures, severe blisters, or widespread cracking, it’s best to call a professional roofer to assess and repair the roof.
Professional roofers have the expertise and tools needed to handle more complicated repairs, ensuring that the roof is restored to its proper condition.
Additionally, professionals can help with larger jobs, such as re-coating the entire roof with a new layer of tar and gravel.
Preventing Future Damage
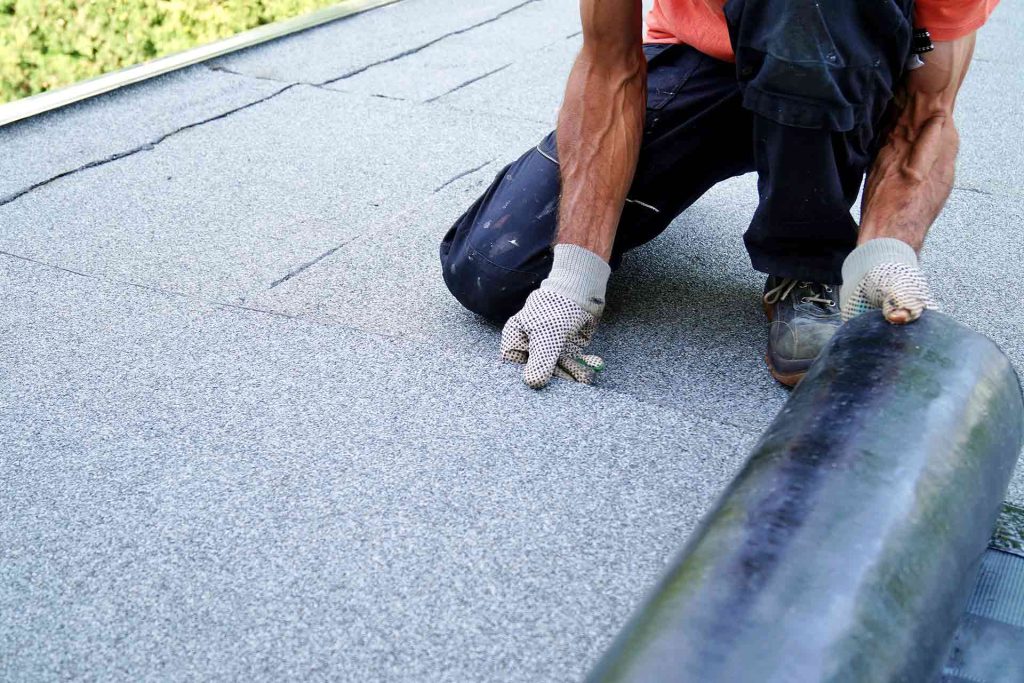

Once your tar and gravel roof has been repaired, it’s essential to maintain it regularly to prevent future damage.
Tar and gravel roofs are durable and long-lasting when properly cared for, but neglect can lead to serious issues, such as leaks or premature roof failure.
By implementing a solid maintenance routine, you can extend the life of your roof and avoid costly repairs.
Here are a few vital maintenance tips to help keep your tar and gravel roof in optimal condition:
1. Regular Inspections
One of the most important steps in preventing future damage to your tar and gravel roof is conducting regular inspections.
Ideally, you should inspect your roof at least once a year, although more frequent checks are recommended if your area experiences harsh weather conditions, such as heavy rain, snow, or strong winds.
Inspections should focus on identifying any signs of damage, including:
Cracks and Punctures: Over time, the bitumen layer can develop cracks, which can allow water to seep through and cause leaks.
Punctures from debris or improper handling can also damage the protective layer, exposing the roof to moisture.
Shifting Gravel: The gravel layer acts as a protective shield against UV rays and physical damage.
If you notice areas where the gravel has shifted or become displaced, it may expose the tar layer to further wear and tear.
Blistering or Bubbles: Blistering occurs when air or moisture becomes trapped between layers of the roof. If you spot any blisters, they should be addressed quickly to prevent further damage.
2. Clean the Roof Regularly
Keeping your tar and gravel roof clean is another key to preventing future damage.
When leaves, debris, dirt, or twigs accumulate on your roof, they can block water drainage, leading to water buildup.
This can increase the likelihood of moisture infiltration and promote the growth of algae or moss.
In addition, clogged gutters and downspouts can cause water to back up onto the roof and increase the risk of damage.
Debris Removal: Regularly remove debris, leaves, and dirt from the surface of the roof.
This will help to ensure that the water drains away freely and that there is no buildup that could cause long-term damage.
Gutter Cleaning: Clean the gutters and downspouts regularly to ensure proper drainage.
Understanding what is the purpose of gutters helps emphasize the importance of this task—they are designed to channel water away from your home, preventing damage. Clogged gutters can lead to water pooling on your roof and create an environment conducive to mold and mildew growth.
Debris Management: Be cautious of larger debris, such as branches or large leaves, which can accumulate on the roof.
Using a broom or rake to gently remove the debris can prevent any damage to the gravel or bitumen layer.
3. Apply a New Coat of Tar
Even though tar and gravel roofs are designed to last for many years, it is a good idea to periodically re-coat the roof with a fresh layer of tar to maintain its waterproof properties and provide added protection against the elements.
Over time, the original tar layer can wear thin or become cracked due to UV exposure, heavy rain, and other environmental factors. Re-coating your roof will help keep it functioning optimally.
When to Re-coat: A general rule of thumb is to re-coat your tar and gravel roof every 3 to 5 years, depending on your location and the condition of your roof.
If your roof experiences frequent exposure to the sun or heavy storms, you may need to re-coat it more frequently.
Applying Tar: When applying a fresh layer of tar, ensure that the surface is clean and free of debris.
It’s best to hire a professional roofing contractor to apply the new coat of tar, as they have the expertise and tools to ensure it is evenly applied and adequately bonded to the existing roof surface.
4. Maintain Proper Drainage
Proper drainage is crucial to the longevity of your tar and gravel roof. Standing water or pooling water on the surface can quickly deteriorate the roof and lead to leaks.
To prevent water accumulation, ensure that your roof is properly sloped and that the drainage system is working efficiently.
Check for Low Spots: Inspect your roof for low spots where water tends to pool.
If you notice any areas where water doesn’t drain properly, consider adding additional gravel to improve the slope or consult with a roofing contractor to resolve the drainage issue.
Install Additional Drainage Systems: If your roof is prone to pooling water, consider installing additional drainage systems such as internal drains or scuppers.
These systems can help redirect water away from the roof surface and prevent standing water.
5. Monitor for Signs of Mold and Algae
Mold, mildew, and algae can thrive on a damp roof surface, leading to deterioration of the roofing material.
These organisms can be difficult to spot, but they can wreak havoc on your tar and gravel roof if left unchecked.
Look for Discoloration: If you notice any dark spots or discoloration on the roof, it could be a sign of mold or algae growth.
Cleaning the roof with a mixture of water and mild detergent can help remove these organisms and prevent them from spreading.
Professional Cleaning: In some cases, a professional cleaning service may be necessary to remove stubborn mold or algae.
They have the right equipment and cleaning agents to ensure the roof is cleaned thoroughly without damaging the surface.
6. Regularly Check the Safety of the Safety Cables
If you have safety cables installed with your tar and gravel roof, make sure they are intact and functioning properly.
These cables are essential for preventing the spring-loaded extension of the roofing system if a cable or spring breaks, ensuring the safety of individuals working on the roof.
Inspect the Cables: Look for signs of wear or damage, and replace any frayed or broken cables immediately to maintain safety.
Professional Inspection: If you’re unsure about the condition of your cables, hire a professional to perform a safety inspection to ensure the system is in working order.
Frequently Asked Questions
1. How long will a tar and gravel roof last?
A tar and gravel roof can last anywhere from 15 to 30 years, depending on the quality of installation, maintenance, and exposure to the elements.
2. Can I repair a tar and gravel roof myself?
Minor repairs, such as filling cracks or replacing gravel, can be done by homeowners. However, larger repairs or issues may require professional help to ensure proper restoration.
3. How often should I replace the gravel on my roof?
You should replace the gravel on your roof if it becomes worn or shifts, which typically occurs every 5 to 10 years. Regular inspections will help determine when it’s time to replace the gravel.
Conclusion
Repairing a tar and gravel roof is a manageable task when approached with the right tools and materials.
Whether you’re fixing small cracks or replacing the gravel, it’s important to take your time and follow the steps carefully.
Regular maintenance and inspections can extend the lifespan of your tar and gravel roof, saving you money in the long run.
However, if the damage is extensive, don’t hesitate to call in a professional roofer to ensure your roof is repaired properly.


