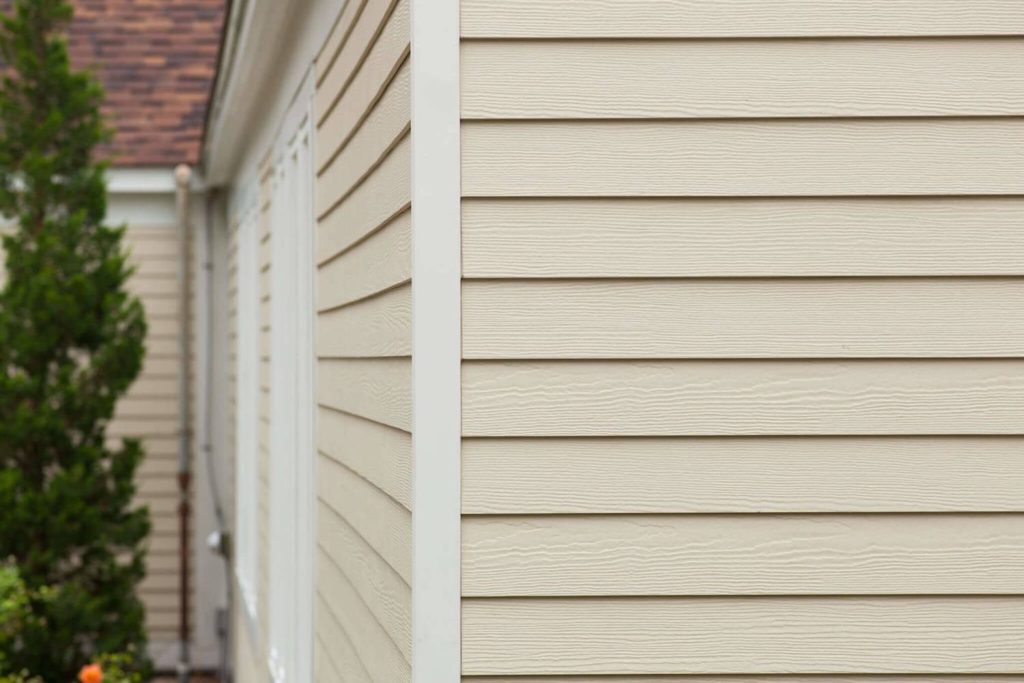
Thinking about upgrading your exterior? Vinyl siding is a smart, stylish, and low-maintenance option.
With a few tools and the right know-how, you can tackle the installation yourself and give your home a fresh new look. is painting vinyl siding worth it? In most cases, modern vinyl holds color well and rarely needs paint unless you’re after a new shade.
In this guide, we’ll walk you through each step of installing vinyl siding clean lines, smooth finish, and serious curb appeal await. Siding installation Norman, siding installation Edmond OK, and Affordable siding Mustang options are all covered by the same core steps below.
How to install vinyl siding?
Install vinyl siding by starting at the bottom and working your way up, overlapping each piece to ensure a watertight seal. Use nails to secure the siding, leaving room for expansion. Many homeowners also look for best siding contractors Tuttle when they prefer professional installation instead of DIY.
Key Takeaways
- Vinyl siding is an affordable and durable option for home exteriors.
- Proper preparation and measuring are key to a successful installation.
- Follow step-by-step instructions for best results and long-lasting performance.
What You’ll Need for the Installation
Before you start installing vinyl siding, make sure you have all the necessary materials and tools.
Proper preparation is essential for a smooth installation process. Here’s a list of what you’ll need:
Tools:
- Measuring tape
- Hammer or siding nails
- Power drill with screwdriver bits
- Circular saw or handsaw (for cutting siding)
- Chalk line
- Ladder or scaffolding
- Level
- J-Channel trim (for around windows and doors)
Materials:
- Vinyl siding panels
- Starter strips
- J-channel (for trim around doors and windows)
- Corner posts
- Undersill trim
- Nails or screws (specifically for vinyl siding)
Step 1: Prepare the Surface
The first step in installing vinyl siding is preparing the surface. Ensure that the walls of your home are in good condition and free from any damage or debris.
If there’s old siding, remove it, along with any nails, screws, or fasteners that may be left behind.
Check the Surface for Damage
Repair any holes, cracks, or uneven areas in the wall. This will ensure that the siding adheres properly and prevents future issues.
Install House Wrap or Insulation
Adding a layer of house wrap or insulation can increase energy efficiency by providing an additional barrier to moisture and air infiltration.
This is optional but highly recommended, especially in colder climates.
Homeowners often ask, is it a bad idea to paint vinyl siding?
Step 2: Measure and Cut the Vinyl Siding

Accurate measuring and cutting are essential for a smooth and professional finish. Here’s how to get it right:
Measure the Walls
Start by measuring the height and width of the wall to determine how much vinyl siding you’ll need.
Make sure to account for windows, doors, and any other openings in your measurements.
Cut the Panels
Vinyl siding can be easily cut with a circular saw or handsaw. When cutting, make sure to leave enough space at the edges for expansion.
Vinyl siding expands and contracts with temperature changes, so allowing a small gap is important for preventing warping or buckling.
Step 3: Install the Starter Strip
The starter strip is the first piece of vinyl siding that you will install, and it plays a key role in setting the foundation for the rest of the project.
Position the Starter Strip
The starter strip is typically installed along the bottom of the wall. Use a level to make sure it’s perfectly straight.
You can use a chalk line to mark the placement for accuracy.
Secure the Starter Strip
Use nails or screws to secure the starter strip along the length of the wall, leaving a small gap between the strip and the wall for expansion.
Make sure to drive the nails in loosely, allowing the strip to move as needed.
Step 4: Install the Vinyl Siding Panels
Now that you have your starter strip in place, you can begin installing the vinyl siding panels. Start from the bottom and work your way up.
Snap the First Panel into Place
Begin at one corner and snap the first vinyl panel into the starter strip. Make sure the panel fits securely in place, and check that it’s level.
Secure the Panel
Nail the top of the panel into the wall, leaving the nails slightly loose to allow for expansion.
The holes in vinyl siding are designed to allow for some movement, so don’t tighten the nails all the way.
Continue Installing Panels
Repeat the process for each row of siding. Overlap the panels at the seams and lock them together by sliding the interlocking edges into place.
Use a level to ensure each panel is straight.
Step 5: Trim Around Windows and Doors
Once the main panels are installed, you’ll need to add J-channel trim around windows and doors to create a clean, finished look.
Install J-Channel
The J-channel trim fits around the edges of windows and doors. Cut the J-channel to fit the dimensions of your openings.
Secure the J-channel to the wall using nails, leaving a slight gap for expansion.
Fit the Panels into the J-Channel
Once the trim is in place, fit the vinyl siding panels into the J-channel.
Ensure they sit snugly against the trim, and continue installing the panels around the entire window or door.
Step 6: Install Corner Posts
The corner posts are the finishing touches for the edges of your home’s exterior. They add a professional look and help protect the edges of the siding.
Measure and Cut Corner Posts
Measure the height of the corner of your home and cut the corner posts to size.
Position the corner posts along the edges of the house, ensuring they are plumb and level.
Attach the Corner Posts
Secure the corner posts with nails, ensuring they are fixed tightly to the wall. Once they are in place, you can begin installing the final rows of siding.
Frequently Asked Questions (FAQs)
1. How long does vinyl siding last?
Vinyl siding can last anywhere from 20 to 40 years, depending on the quality of the material and the climate in which it’s installed.
2. Can I install vinyl siding over existing siding?
Yes, in some cases, vinyl siding can be installed over existing siding, but it’s important to ensure the old siding is in good condition and that the surface is level.
3. Is vinyl siding energy-efficient?
Yes, vinyl siding can help improve your home’s energy efficiency, especially if it’s insulated. Insulated vinyl siding helps to keep the interior temperature stable and can lower energy bills.
Conclusion
Installing vinyl siding is a rewarding project that can improve your home’s curb appeal and protect it from the elements.
By following these steps and taking the necessary precautions, you can successfully install vinyl siding on your home.
Whether you opt for a professional installation or decide to tackle the job yourself, the result will be a durable, low-maintenance exterior that adds value to your home.
Remember to choose high-quality materials, measure carefully, and take your time to ensure the job is done right.