Metal roofing looks sleek, lasts decades, and shrugs off storms like it’s no big deal. But if you don’t overlap the panels right, even the toughest roof can leak faster than a bad umbrella.
Getting the overlap right isn’t just about looks. It’s about keeping rain out, fighting wind, and stopping rust before it starts. Just like how proper repair methods in cases of hail damage roof repair Moore can make all the difference, precise overlapping ensures long-term protection and aligns with metal roofing installation requirements. This guide breaks down exactly how to overlap metal roofing lengthwise, step by step – an important part of any roof measurement guide.
By the end, you’ll know the right direction, measurements, and tools to make your roof watertight, solid, and ready to flex against whatever weather throws at it.
What’s the correct way to overlap metal roofing panels?
Overlap metal roofing panels by 6 to 12 inches, apply sealant or butyl tape, and lay them against the wind for a leak-free, long-lasting roof.
Key Takeaways
- Always overlap panels 6–12 inches for a watertight seal.
- Lay panels against the prevailing wind to stop leaks.
- Use butyl tape or sealant between overlaps for extra protection.
- Fasten with screws and rubber washers, but don’t overtighten.
- Inspect overlaps annually and reseal weak spots to prevent rust.
Why Proper Overlapping Matters
Think of overlapping panels as your roof’s version of teamwork. When done right, each piece supports the next, creating a watertight barrier that rain and wind can’t mess with.
If the overlap’s too short or facing the wrong direction, moisture sneaks in and corrosion starts doing its thing. Over time, that turns small drips into big repair bills – especially if you’re planning to replace roof Bethany ok in the future and want to avoid preventable damage before that time comes.
The trick is simple: keep your overlaps even, tight, and facing away from the prevailing wind. That one detail can add years to your roof’s life and save you a lot of frustration later. It’s also one of the reasons metal roofs are often considered one of the longest lasting roofing systems.

Tools and Materials You’ll Need
Before climbing up, make sure your gear’s on point. You’ll need metal panels, screws, sealant or butyl tape, a drill, a tape measure, and closure strips. Keep a chalk line handy for perfect alignment.
Safety first. Gloves, non-slip boots, and a solid ladder setup are musts. Roofing’s not the place to flex your balancing skills – whether you’re installing metal or working on roofing maintenance Yukon OK or elsewhere.
Having the right tools means the job goes smoother, the overlaps stay clean, and you finish faster without backtracking for missing gear.
Understanding Panel Orientation
Here’s the rule most people skip: always lay your panels against the prevailing wind. That stops gusts from forcing rain under the seams.
Lengthwise overlaps run along the slope, so accuracy matters even more. A small misalignment can cause gaps that let in water.
Widthwise overlaps are simpler, but lengthwise overlaps carry the main load of keeping your roof sealed tight. So take your time lining them up straight. Think of it like stacking cards in the wind – precision pays off.
How Much Should Metal Roofing Overlap?
There’s no one-size-fits-all answer, but most pros stick to a 6 to 12 inch overlap depending on slope and panel type. The steeper the roof, the less overlap you need.
Always check the manufacturer’s specs before you start. Some panels have unique profiles that need specific spacing.
If in doubt, go slightly longer rather than shorter. It’s easier to trim a bit off than deal with a leak later.
Step-by-Step Guide: How to Overlap Metal Roofing Lengthwise
Step 1 – Measure and Align the Panels
Start at the bottom edge of your roof and make sure every panel sits square to the line. Use your tape measure and chalk line to keep things straight.
Even a small angle mistake here can throw off the rest of your roof. Alignment is your foundation for a clean, pro-looking finish.
Step 2 – Apply Sealant or Butyl Tape
Run a strip of butyl tape or roofing sealant along the top edge of the first panel. This acts like the gasket in your car door, it seals tight but flexes with temperature changes.
Don’t skip it. That tiny strip keeps water out and your insulation dry.
Step 3 – Overlap the Panels Correctly
Slide the next panel over the first one, keeping the overlap consistent all the way down. Aim for a 6 to 12 inch overlap depending on your slope.
Press down firmly to seat the sealant or tape before fastening. Check that the ribs line up so everything looks even.
This step sets your roof’s rhythm, clean lines, tight seams, no leaks.
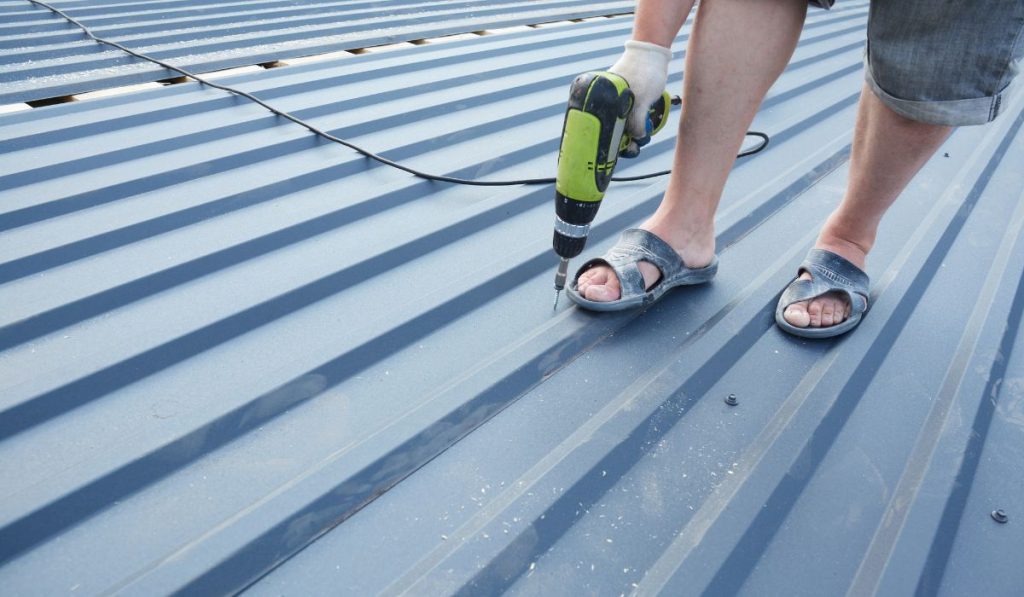
Step 4 – Fasten Panels Securely
Use roofing screws with rubber washers to fasten the panels together. Place screws at every rib or roughly every 12 to 18 inches.
Don’t overtighten, that can warp the panels or crack the washer. Tight enough to seal, but still able to flex when temps rise.
Work your way up and double-check each seam before moving on.
Step 5 – Check Alignment and Finish Edges
Once all panels are fastened, step back and scan the roof. Look for uneven overlaps or tiny gaps along seams.
Finish by adding closure strips at the edges and ridge caps on top. It keeps bugs, water, and debris out while giving your roof that clean, finished look.
Common Mistakes to Avoid
Skipping sealant. Overlapping too little. Screwing too tight. These are rookie mistakes that cost big later.
Also avoid installing panels in the wrong direction or forgetting about slope. Water always finds the weakest point, and sloppy overlaps are its favorite entry.
Keep screws consistent, overlaps even, and sealant lines smooth. That’s how you get a roof that looks sharp and lasts years – same way pros tackle storm repair roofing Newcastle challenges with precision.
Maintenance Tips for a Long-Lasting Roof
Clean off debris once or twice a year, especially after storms. Leaves, branches, and dirt hold moisture that can speed up rust.
Inspect overlaps annually and reseal any spots that look worn. A quick tube of sealant today can save you thousands later.
It’s the kind of maintenance that pays off quietly, you’ll notice it when you don’t have leaks.
Safety Tips During Installation
Never rush. Wet metal gets slick fast. Always wear non-slip boots and use a sturdy ladder or scaffolding.
If you’re working on a high or steep roof, wear a harness. Your safety gear is just as important as your tools.
A safe install means you finish strong and live to brag about your handiwork.
FAQs About Overlapping Metal Roofing Lengthwise
1. How much should metal roofing overlap?
Most metal panels should overlap by 6 to 12 inches depending on your roof’s slope. Steeper roofs can get away with less, while flatter ones need more to stay watertight.
2. Do you put sealant between overlapping panels?
Yes, always. Use butyl tape or roofing sealant along the seam before overlapping. It stops leaks and keeps the connection tight through heat and rain.
3. Which direction should I overlap metal panels?
Overlap panels away from the prevailing wind. That way, wind-driven rain can’t sneak under the seams and cause leaks later.
4. Can I overlap metal roofing without screws?
Not a good idea. Screws with rubber washers are what keep panels tight and sealed. Without them, panels can shift, lift, or leak the first time a strong wind hits.
5. What happens if I overlap metal panels the wrong way?
Water will find its way in. Overlapping in the wrong direction lets rain and debris slip under the seams, which can cause rust and interior damage over time. That’s why experienced re-roofing contractors Norman OK always follow proper overlap techniques.
Final Thoughts
Getting your overlaps right isn’t complicated, it just takes patience and precision.
Each panel you line up tight adds another layer of protection and polish. Do it right once, and your roof will flex through storms, seasons, and time.
A clean overlap isn’t just roofing, it’s craftsmanship that lasts, adding to the overall value of metal roofing for any property.”