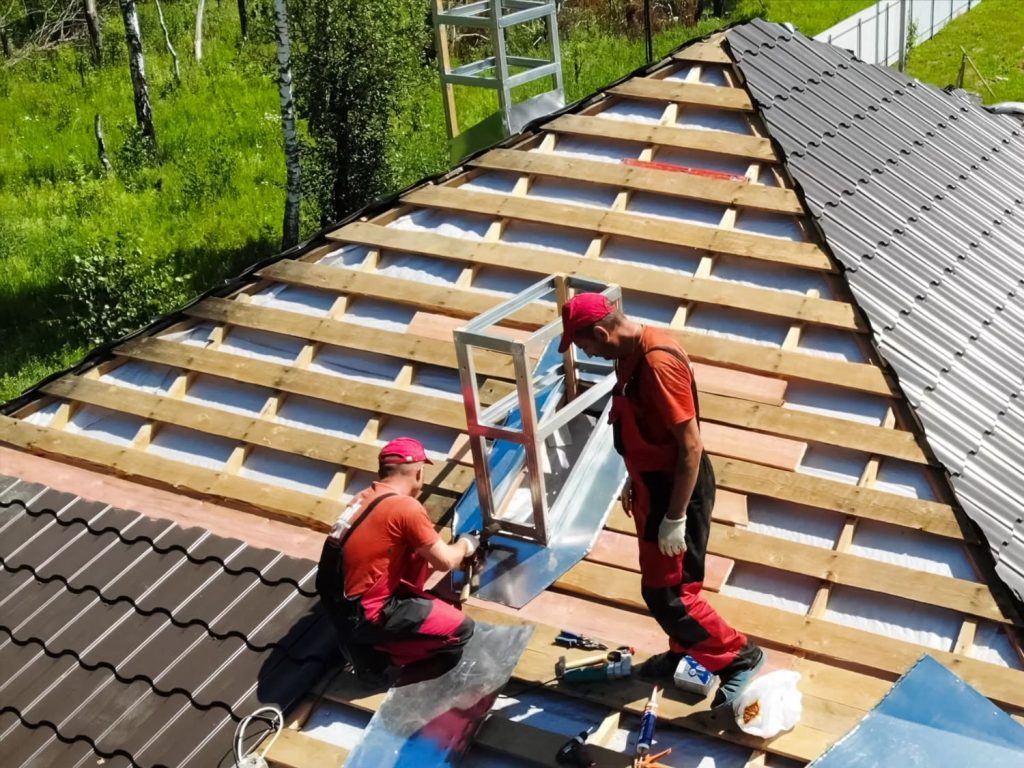
Knowing how to repair roof ridge cap shingles is one of the most vital maintenance tasks for any homeowner looking to prevent a costly roof leak. The ridge cap is the peak of your roof where two slopes meet, and because it sits at the highest point, it takes the brunt of Oklahoma’s high winds, hail, and intense sun. If this line of defense fails, water can seep directly into your attic, leading to structural damage and mold.
At OKC Roofers, we believe that a little bit of proactive maintenance goes a long way. Whether you are dealing with a few cracked ridge cap shingles fix or a total replacement, this guide will walk you through the essential steps to keep your home dry.
Understanding the Importance of the Ridge Cap
The ridge cap is more than just a finishing touch on your roof’s aesthetic; it is a specialized shingle designed to shed water and cover the gap at the peak of the roof. Unlike standard field shingles, ridge cap shingles are pre-bent or flexible to wrap over the peak.
In many modern homes, these shingles also cover the ridge vent shingles, which allow your attic to breathe while keeping rain out. If these are damaged, your home’s ventilation and moisture protection are both compromised. If you’re looking for an affordable roofing Mustang OK, you likely already know how much the local weather can stress these specific components.
When Do You Need a Roof Ridge Cap Repair?
Before diving into the “how-to,” you need to know what to look for during a roof inspection. Common signs of trouble include:
- Visible cracks in the shingle surface.
- Missing pieces of the roof ridge cap after a windstorm.
- Dried out or crumbling roofing cement around the nails.
- Water stains on your attic rafters directly below the peak.
Essential Roofing Materials for the Job
To perform a professional-grade repair, you need the right roofing materials. Don’t try to use standard shingles cut into squares; true ridge cap shingles are manufactured specifically for this high-stress area. You will need:
- Replacement ridge cap shingles (matching your existing color).
- High-quality roofing cement (sealant).
- 1.75-inch or 2-inch galvanized roofing nails (longer than standard nails to penetrate multiple layers).
- A hammer and a flat pry bar.
Professional Roof Ridge Cap Repair Steps
If you are comfortable working at heights, follow these roof ridge cap repair steps to ensure a watertight seal.
1. Safety and Inspection
Always use a sturdy ladder and a roof safety harness. Begin by inspecting the entire length of the peak. Identify every cracked ridge cap shingles fix required.
2. Remove the Damaged Shingles
Use a pry bar to gently lift the shingle above the damaged one to expose the nails. Carefully remove the nails and slide out the broken piece. Be careful not to tear the underlying ridge vent shingles if your roof has a ventilation system installed at the peak.
3. Material Preparation and Placement
Apply a small amount of roofing cement to the underside of the new shingle to provide extra wind resistance. Slide the new piece into place, ensuring it overlaps the shingle below it correctly to maintain the “shedding” effect for rainwater.
4. Nailing and Sealing
Drive two nails into the shingle, one on each side, about an inch from the edge. Crucially, cover the nail heads with a dab of sealant to prevent “shingle backing” and future leaks.
Estimated Cost to Repair Roof Ridge Cap
The cost to repair roof ridge cap sections varies depending on the height of your roof and the extent of the damage. For a DIY fix, you may only spend $50–$100 on a bundle of shingles and sealant. However, professional repairs typically range from $300 to $750.
While a DIY approach saves money, a professional roof repair ensures that the job is done to code and includes a full roof inspection to catch issues you might miss. At OKC Roofers, we provide transparent pricing and expert service to ensure your home remains protected.
FAQ
1. What is a roof ridge cap, and why is it important?
A roof ridge cap is the specialized shingle layer that covers the peak of the roof. It is vital because it seals the gap where two roof planes meet, preventing water from entering the most vulnerable part of the structure.
2. How do I replace a damaged ridge cap shingle?
You replace it by lifting the overlapping shingle, removing the old nails, sliding in a new ridge cap shingle, and securing it with longer roofing nails and sealant.
3. Can ridge cap repair prevent leaks effectively?
Yes. Most leaks that start at the top of the house are caused by damaged caps. A timely cracked ridge cap shingles fix can prevent water from reaching the decking and rafters.
4. What materials are best for ridge cap replacement?
The best materials are high-profile SBS-modified ridge cap shingles, as they offer better impact resistance and flexibility than standard 3-tab shingles.
5. How much does it cost to repair a roof ridge cap?
The cost to repair roof ridge cap sections generally falls between $300 and $750 for professional service, depending on the length of the ridge and roof pitch.
Conclusion
Maintaining your roof’s peak is the most effective way to extend the lifespan of your entire roofing system. By following the correct roof ridge cap repair steps and using quality roofing materials, you can avoid the headache of interior water damage. However, climbing onto a roof can be dangerous, and missing a single nail seal can lead to a persistent roof leak.
Don’t leave your home’s safety to chance. If you aren’t comfortable on a ladder or if you’ve noticed multiple missing shingles, contact us today for a professional evaluation. Our team is ready to help you understand exactly how to repair roof ridge cap damage or handle the hard work for you.
Read Similar: What Is Membrane Roofing?