Corrugated plastic roofing is one of those cheat codes for quick, affordable, and durable shelter solutions. Whether you’re covering a patio, shed, or carport, it’s lightweight, easy to handle, and looks cleaner than most DIY jobs deserve.
The best part? You don’t need to be a pro to pull it off. With a few smart prep steps, the right tools, and some patience, you can lock in weather protection that lasts for years. Let’s break down how to install corrugated plastic roofing without the stress or the mess.
How can you install corrugated plastic roofing efficiently?
Measure, pre-drill, overlap, and seal panels properly to prevent leaks and ensure long-lasting protection.
Key Takeaways
- Corrugated plastic roofing is affordable, durable, and easy to install.
- With the right tools and prep, you can set it up without pro help.
- Proper overlap, sealing, and maintenance extend its lifespan up to 20 years.
- Avoid overtightening screws and skipping pre-drilled holes to prevent cracks.
What Is Corrugated Plastic Roofing?
Corrugated plastic roofing is a lightweight, durable sheet made from PVC or polycarbonate. It’s built with ridges that add strength and help water run off easily.
The material is tough enough to handle rain, sun, and wind without rusting or cracking. You’ll often see it used on patios, carports, and sheds because it’s easy to install and low maintenance.
It also comes in clear or tinted options, letting you control how much light filters through. If you want something affordable that looks clean and holds up, corrugated plastic is a solid pick.
Planning a broader exterior update—like Siding installation Del City or coordinating with Siding Contractors Choctaw OK—pairs well with this roofing project. Some homeowners even explore Roofing repair in Yukon ok as part of wider property improvements. And during budgeting, looking at factors like price to replace roof Tuttle can help set expectations for future upgrades or even understand insurance roof replacement options if major restoration is ever required.

Tools and Materials You’ll Need
Before you climb up that ladder, get your gear straight. You’ll need corrugated plastic panels, galvanized screws with rubber washers, a power drill, and a saw to trim panels if needed.
Grab a measuring tape, chalk line, and ladder to mark out spacing like a pro. Have safety glasses and gloves on deck, because no one likes splinters or surprise cuts.
It’s smart to keep silicone sealant handy too, so you can lock out leaks once the panels are in place. Get everything ready before starting, and the whole process will go smoother than your favorite playlist.
Step-by-Step Installation Guide
Installing corrugated plastic roofing isn’t rocket science, but a clean setup makes all the difference. Here’s how to nail it like a pro without breaking a sweat.
1. Gather Your Tools and Materials
Start with the basics. You’ll need corrugated plastic sheets, screws with rubber washers, a drill, measuring tape, and a saw. Don’t skip gloves and safety goggles, because those edges can get sharp. Having everything ready saves you a ton of mid-project runs to the store.
2. Measure and Cut Your Sheets
Measure the roof area twice and cut once. Corrugated sheets should overhang the roof edge by at least two inches for proper runoff. Use a fine-tooth saw or a circular saw with a plastic-cutting blade for smooth, chip-free cuts.
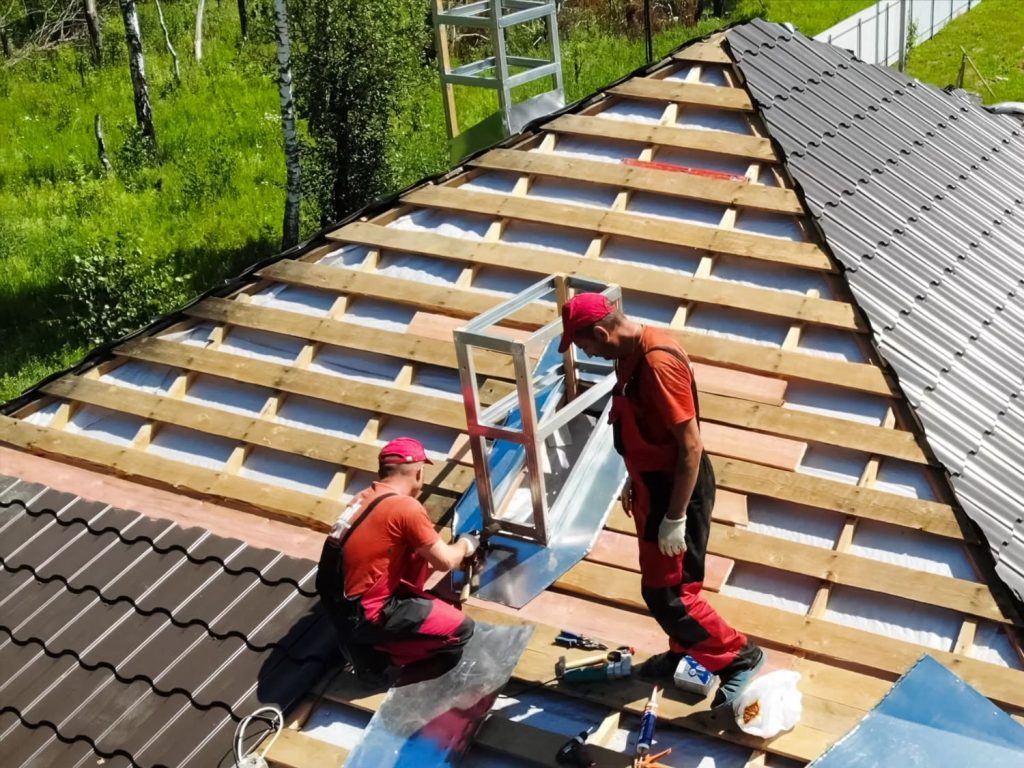
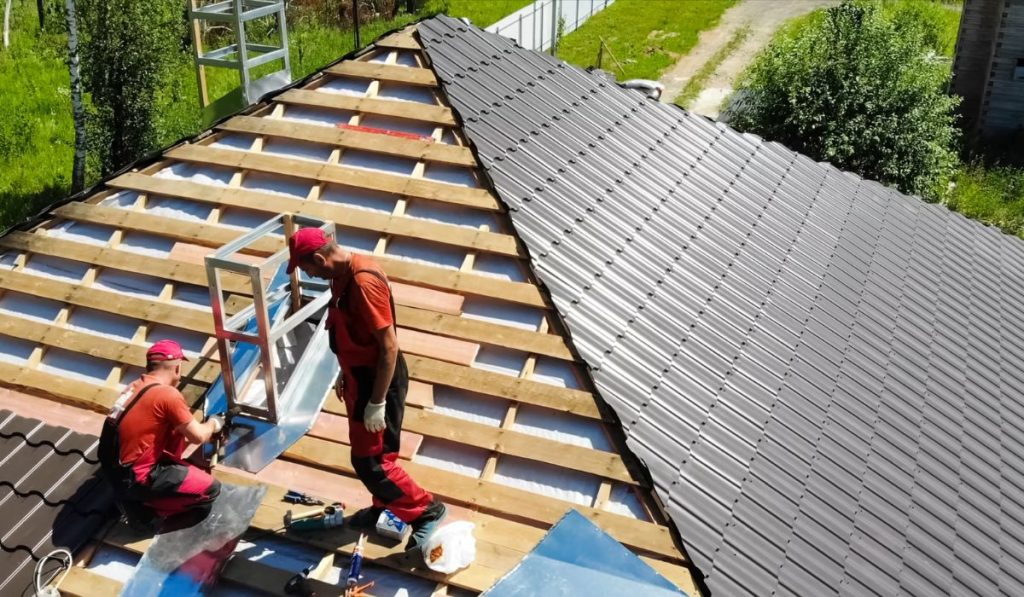
3. Prep the Roof Frame
Your roofing frame should be sturdy and evenly spaced. Wooden or metal battens work fine, just make sure they’re aligned and secured. This structure is your foundation, so any uneven surface now will haunt you later.
4. Lay the First Sheet
Start from the lower end of the roof and work upward. Place the first sheet square to the edge to keep the rest aligned. Overlap each sheet by one corrugation to prevent leaks and improve stability.
5. Drill and Secure the Sheets
Drill holes about two inches from the edges and at the top of each ridge (not the valley). The holes should be slightly larger than the screw diameter to let the plastic expand with temperature changes. Use screws with rubber washers to create a watertight seal, but don’t overtighten them – plastic cracks under pressure.
6. Continue Laying Sheets
Work your way across, overlapping and fastening as you go. Keep the sheets straight and uniform, checking every few rows. If the roof is large, consider staggering the seams for a cleaner look and better water drainage.
7. Install the Ridge Cap
Once all panels are down, finish it off with a ridge cap along the roof peak. Overlap it on both sides, securing it with screws every six to eight inches. The ridge cap keeps water out and gives your roof that clean, finished edge.
8. Check for Gaps and Clean Up
Do a quick inspection for any missed screws or uneven overlaps. Tighten up where needed and sweep off debris or shavings. A clean surface helps the roof settle and last longer.
Maintenance Tips for Corrugated Plastic Roofs
Keeping your corrugated plastic roof in good shape is easier than you think. Rinse it down with a hose every few months to clear off dirt, pollen, and leaves before they build up. Skip the pressure washer since it can cause cracks.
Check screws and fasteners once or twice a year, tightening any that feel loose. If you spot any small cracks or leaks, seal them right away with a clear roofing sealant to keep water out. Trim back nearby branches to prevent scratches or impact damage. A little regular care keeps your roof looking clean and lasting longer.
Common Installation Mistakes to Avoid
Rushing the job is the fastest way to mess up your corrugated plastic roofing. Don’t skip pre-drilling holes or you’ll risk cracks. Avoid overtightening screws since that can warp panels and mess with water flow.
Forgetting to overlap sheets correctly is another rookie mistake that leads to leaks. Take your time, measure twice, and follow the manufacturer’s layout guide like it’s your playbook.
Cost & Lifespan Overview
Corrugated plastic roofing is one of the most affordable roofing options out there, perfect for patios or sheds on a budget. On average, it costs much less than metal or tile roofing but still holds up well against the elements.
With proper installation and care, you can expect it to last around 10 to 20 years before needing replacement. If you’re tackling bigger structural work, options such as Roofing Replacement in Norman ok can be considered alongside your other renovations.
FAQs
1. How do I cut corrugated plastic roofing sheets?
Use a fine-tooth saw or utility knife for clean cuts. Mark your line first, secure the sheet, and take your time to avoid cracks.
2. What should I use to secure the sheets?
Go for screws with rubber washers. They help seal out moisture and keep the sheet from cracking when tightened.
3. Can I walk on corrugated plastic roofing?
Not really. It’s light and flexible, so walking on it can cause dents or breaks. Use planks if you must step on it.
4. How do I stop leaks in plastic roofing?
Check for loose screws or worn seals. Tighten or replace them, and use a clear waterproof sealant where needed.
Conclusion
A solid corrugated plastic roof doesn’t just look clean, it’s built to last if you install it right. Measure twice, overlap carefully, and seal every joint so leaks never stand a chance. Once it’s up, a quick rinse and occasional screw check keep it looking fresh. Do it right the first time, and you’ve got a low-cost setup that flexes durability and style for years.
Read Similar Article on : how many square feet in a roofing square?