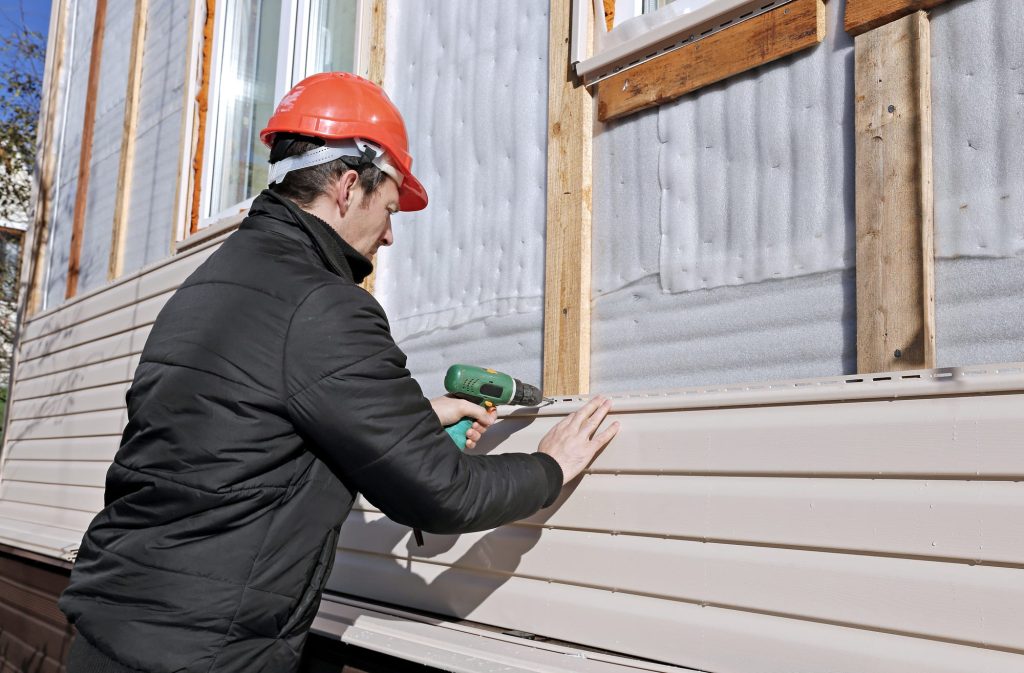
Thinking about giving your home a refresh? If your vinyl siding’s looking tired, damaged, or just not your style anymore, it might be time to take it off.
Whether you’re prepping for a full upgrade or tackling repairs, removing vinyl siding can be a manageable DIY job.
This guide will walk you through the steps and tips to make the removal process smooth and stress-free. Many homeowners planning siding removal also explore exterior upgrades recommended by roofing companies oklahoma city to ensure long-term durability and curb appeal.
How to remove vinyl siding?
To remove vinyl siding, start by prying off the trim pieces, then gently lift and remove the panels one at a time, being careful not to damage the fasteners or the underlying structure.
Key Takeaways
- Removing vinyl siding is a manageable DIY task that requires the right tools and preparation.
- Always work from the top down and use caution to avoid damaging the underlying structure.
- Take the time to properly dispose of old siding, especially if it’s in large quantities.
Tools You Will Need
Before you start removing vinyl siding, gather the necessary tools. Having everything you need within reach will make the process smoother and more efficient.
Here’s a list of tools and equipment to help you get the job done:
- A utility knife
- A siding removal tool or flat pry bar
- A hammer
- A screwdriver (if necessary for screws)
- A bucket or large trash bags for disposal
- A ladder or scaffolding (if working on a high area)
- Gloves to protect your hands
- Safety glasses to protect your eyes from debris
Step-by-Step Guide to Removing Vinyl Siding

Once you have all the tools you need, you can begin the siding removal process. Here’s a step-by-step guide to help you remove vinyl siding safely and efficiently.
Step 1: Inspect the Siding
Before removing the siding, take a few minutes to inspect it. Look for any areas where the siding is loose or damaged.
This will help you identify where to begin and if there are any sections that may require extra care during removal.
Step 2: Start at the Bottom
Start at the bottom of the siding panel. This is important because vinyl siding is designed to overlap, and removing it from the bottom up is the most effective method.
Gently lift the bottom edge of the siding using a pry bar or siding removal tool. Be careful not to damage the underlying structure or the siding itself if you plan to reuse it.
Step 3: Work Your Way Up
Once you’ve lifted the bottom edge, slide the pry bar under the next row of siding. Work your way up, gently prying the panels apart.
Some panels are secured with nails, while others may have screws. If you encounter screws, use a screwdriver to remove them.
Tip: If you encounter difficulty, try gently pulling the panel in a rocking motion to loosen it from the clips or nails. Don’t pull too hard, as this can cause the siding to crack.
Step 4: Remove the Nails or Screws
As you move up, continue removing the nails or screws holding the siding in place. These are typically placed at the top of each panel.
Use the flat pry bar to pull the nails out or unscrew the screws with your screwdriver. Work methodically so you don’t damage the panels or the wall behind them.
Step 5: Remove the Panels
Once you’ve removed the nails or screws, begin detaching the panels from each other.
Vinyl siding typically locks together, so you may need to slide the panels horizontally to separate them. Be careful as you do this, as vinyl siding can be flexible and may snap if forced.
Step 6: Continue Until All Siding is Removed
Continue the process panel by panel, starting from the bottom and working your way up.
It’s essential to maintain a steady and controlled movement to avoid damaging the panels, especially if you plan to reuse them for a future project.
Step 7: Dispose of the Old Siding
Once all the siding is removed, it’s time to dispose of the old material. Vinyl siding is recyclable, but many curbside trash services may not accept it.
Check with your local recycling centre to see if they accept vinyl siding. Alternatively, you can take it to a landfill or arrange for a disposal service if necessary.
Tip: If you’re removing a large amount of siding, consider renting a dumpster for easier disposal.
Common Issues to Watch Out For
While removing vinyl siding is generally a straightforward process, there are a few common issues that could cause problems during the removal:
Damaged Siding
If the siding is brittle or cracked, it can break into small pieces, making it more difficult to remove.
Be cautious when prying the siding loose, and work slowly to prevent breakage.
Difficult-to-Remove Nails
Some nails may be rusted or driven in too tightly, making them difficult to remove.
If this happens, you may need to use additional tools, such as a nail puller, to remove stubborn nails.
Old Insulation
If the siding is old and the insulation behind it is damaged or deteriorating, you may need to replace it.
Take care when removing the siding to avoid disturbing the insulation too much.
Frequently Asked Questions (FAQs)
1. Can I reuse the vinyl siding after removal?
Yes, vinyl siding can be reused if it is in good condition. However, it may be difficult to remove the siding without causing damage, so take care when prying it off.
2. How long does it take to remove vinyl siding?
The time it takes to remove vinyl siding depends on the size of the area and how well the siding is installed. On average, it may take a full day for a small garage or a few days for a larger house.
3. Is it necessary to replace the insulation when removing vinyl siding?
Not necessarily. If the insulation is in good condition and doesn’t need replacement, you can leave it in place. However, if the insulation is damaged or deteriorating, it’s a good idea to replace it while the siding is removed.
Conclusion
Removing vinyl siding is a straightforward process, but it requires the right tools and some careful attention to detail.
By following the steps outlined in this guide, you can remove the siding efficiently and safely.
Whether you’re replacing it with new siding, performing maintenance, or simply making upgrades to your home, knowing how to remove vinyl siding properly will save you time and effort.
If you’re unsure about tackling this task yourself, it’s always a good idea to consult with a professional to ensure the job is done right.